

Most beekeeping mistakes are not dramatic. They are small, repeated habits: a hive opened on a whim, a notebook left blank, a stand sited where the wind funnels through the hedge. The colony usually copes. But a colony that could have gone into winter strong goes in merely adequate, and spring gets spent fixing problems that never needed to appear. The ten points below are the ones that come up again and again with new beekeepers, and none of them need expensive kit to put right.
1. Inspecting Too Often, and Without a Plan
A newly installed colony is fascinating. The temptation is to lift the lid every few days, just to see. Every inspection costs the bees something: propolis seals are broken, nest temperature and humidity wobble, and the scent of opened honey gives robbers a trail to follow. In cool weather, a careless inspection can set brood back by days.
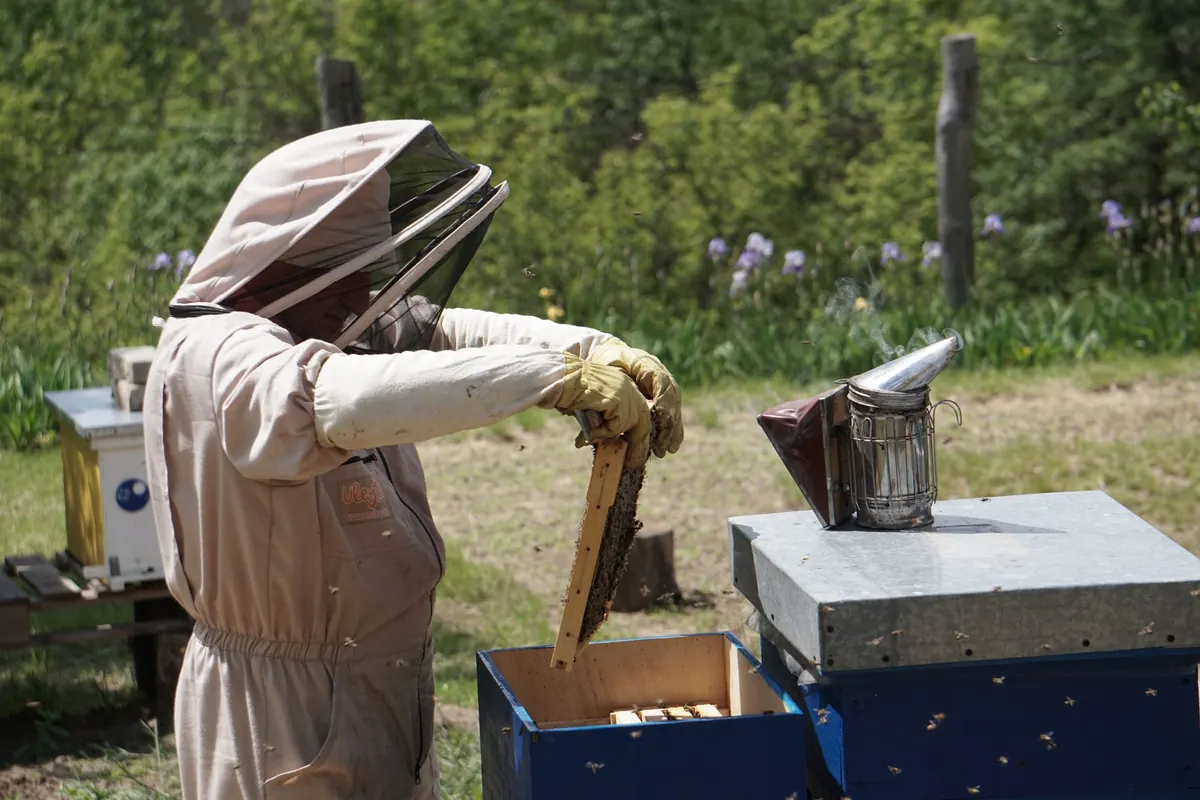
In swarm season, once every seven to ten days is the usual rhythm. Outside it, you can often leave them longer. What matters more than frequency is purpose. Before you put the suit on, decide what you are checking for — eggs, queen cells, stores, space — and have your spare box, tools and smoker within reach. Work from the outside of the brood nest inwards, lift frames by the lugs, and keep the nest in the dark for as short a time as you can. Fifteen minutes of focused work beats an hour of poking about.
2. Siting the Hive in the Wrong Place
Moving a hive later is a nuisance, and in summer it means shutting the bees in for a day. Get it roughly right first.
- Sun, especially in the morning. A hive that warms early starts foraging earlier and dries out faster after rain.
- Wind protection, but not a frost pocket. A hedge on the prevailing wind side helps; the bottom of a slope collects cold air and damp.
- A firm, dry stand. Raise the hive clear of the ground — around 30–45cm is plenty — and keep grass short around it. Long grass blocks entrances and holds moisture.
- Clear of people and animals. Not beside a footpath, gate or washing line, and not where children play. Horses and livestock can knock hives over.
- Water within reach. A shallow tray with pebbles saves your bees trailing to a neighbour's water butt.
If neighbours are close, a two-metre fence or hedge in front of the entrance lifts the bees above head height within a few metres and does more for goodwill than any amount of explaining. Do check tenancy terms or allotment rules too — many sites have their own conditions on hives.
3. Treating Record Keeping as Optional
You will not remember, six weeks from now, whether you saw eggs in the third hive. Guessing leads to unnecessary inspections, missed queen cells and treatments given twice or not at all.
A system you will actually use
Number each hive with paint or marker on the roof. Then, for every inspection, write the date, hive number, whether the queen was seen, eggs present, brood pattern, stores, temper, and what you did about it. Three lines is enough. Photograph frames if you are unsure about brood stages. The aim is not an archive; it is a memory you can trust.
Three lines in a waterproof notebook beat an elaborate spreadsheet you never open.
4. Feeding at the Wrong Time, or in the Wrong Way
Wrong feed, wrong moment. Thin syrup in spring encourages brood; thicker syrup in late summer and early autumn gives them stores to ripen and cap before the weather turns. Fondant is easier once it is too cold for syrup. Feed early enough that the bees can process it, and never feed syrup or honey while supers intended for harvest are on the hive. Feeding honey from an unknown source risks spreading disease.
Feeding in the open. Syrup left in the open, or spilled on the ground, triggers robbing and can draw wasps and bees from other colonies. Feed inside the hive, at dusk where possible, and wipe up drips.
5. Missing the Signs of Swarming
Congestion, a strong flow and warm weather all push a colony towards swarming. The clues build over days: the brood nest backfilled with nectar, polished empty cells, more drones, and then queen cells — often along the bottom edges of frames. Once those cells are capped, the colony may go within days.
Check weekly from roughly April to July, and have a plan before you find anything. If you spot queen cells, decide there and then: leave them, remove them, or split the colony. Simply knocking cells down without easing the congestion usually means they build more. Keep a spare nuc box ready, and consider a bait hive nearby — it costs nothing and occasionally saves a swarm.
6. Reacting to Pests Without Monitoring First
Beginners tend to err in one of two directions: ignoring varroa until the bees look obviously unwell, or treating on a calendar regardless of what the colony actually carries. Monitor first — a sugar roll or similar check — record the result, and treat only when the numbers justify it, using a product labelled for the job and following that label closely, particularly in relation to supers.
Be equally careful with brood disease. If you see patchy, sunken or foul-smelling brood, do not guess and do not move frames between hives. American and European foulbrood are notifiable in the UK, and your local association or the national bee inspectorate can advise. Your local association is also the quickest source of reliable, regional advice on treatments and timing.
7. Starting with One Hive, and Going It Alone
Two hives are better than one. With two you can compare behaviour, share a frame of brood or a spare queen if something goes wrong, and recover from a failed queen without starting again from scratch. Buy the suit before the bees, and buy a good one: if bees can sting through the mesh, you will handle them nervously, and nervous handling makes colonies defensive.
Join a local association before you buy anything, go to the apiary meetings, and find someone who will look over your shoulder for the first season. A short winter course will teach you more than a shelf of books, useful as those are.
A Simple Routine That Prevents Most of This
None of these mistakes come from carelessness so much as from doing things in a rush or in the wrong order. A steady routine solves most of it:
- Write down what you are checking before the lid comes off, and inspect roughly weekly in season.
- Record date, hive, queen, eggs, stores, temper and actions — every time.
- Check placement, water and access before the season starts, not during it.
- Feed on time, inside the hive, and keep supers clear of syrup.
- Have a swarm plan and a spare nuc by early spring.
- Ask an experienced beekeeper before acting on a pest or disease problem.
Bees have been managing their own affairs for a very long time. Your job is to give them a sound box in a sensible spot, keep notes, and stay out of the way — while noticing early when something genuinely needs your attention.
Photo: Dmytro Glazunov / Pexels